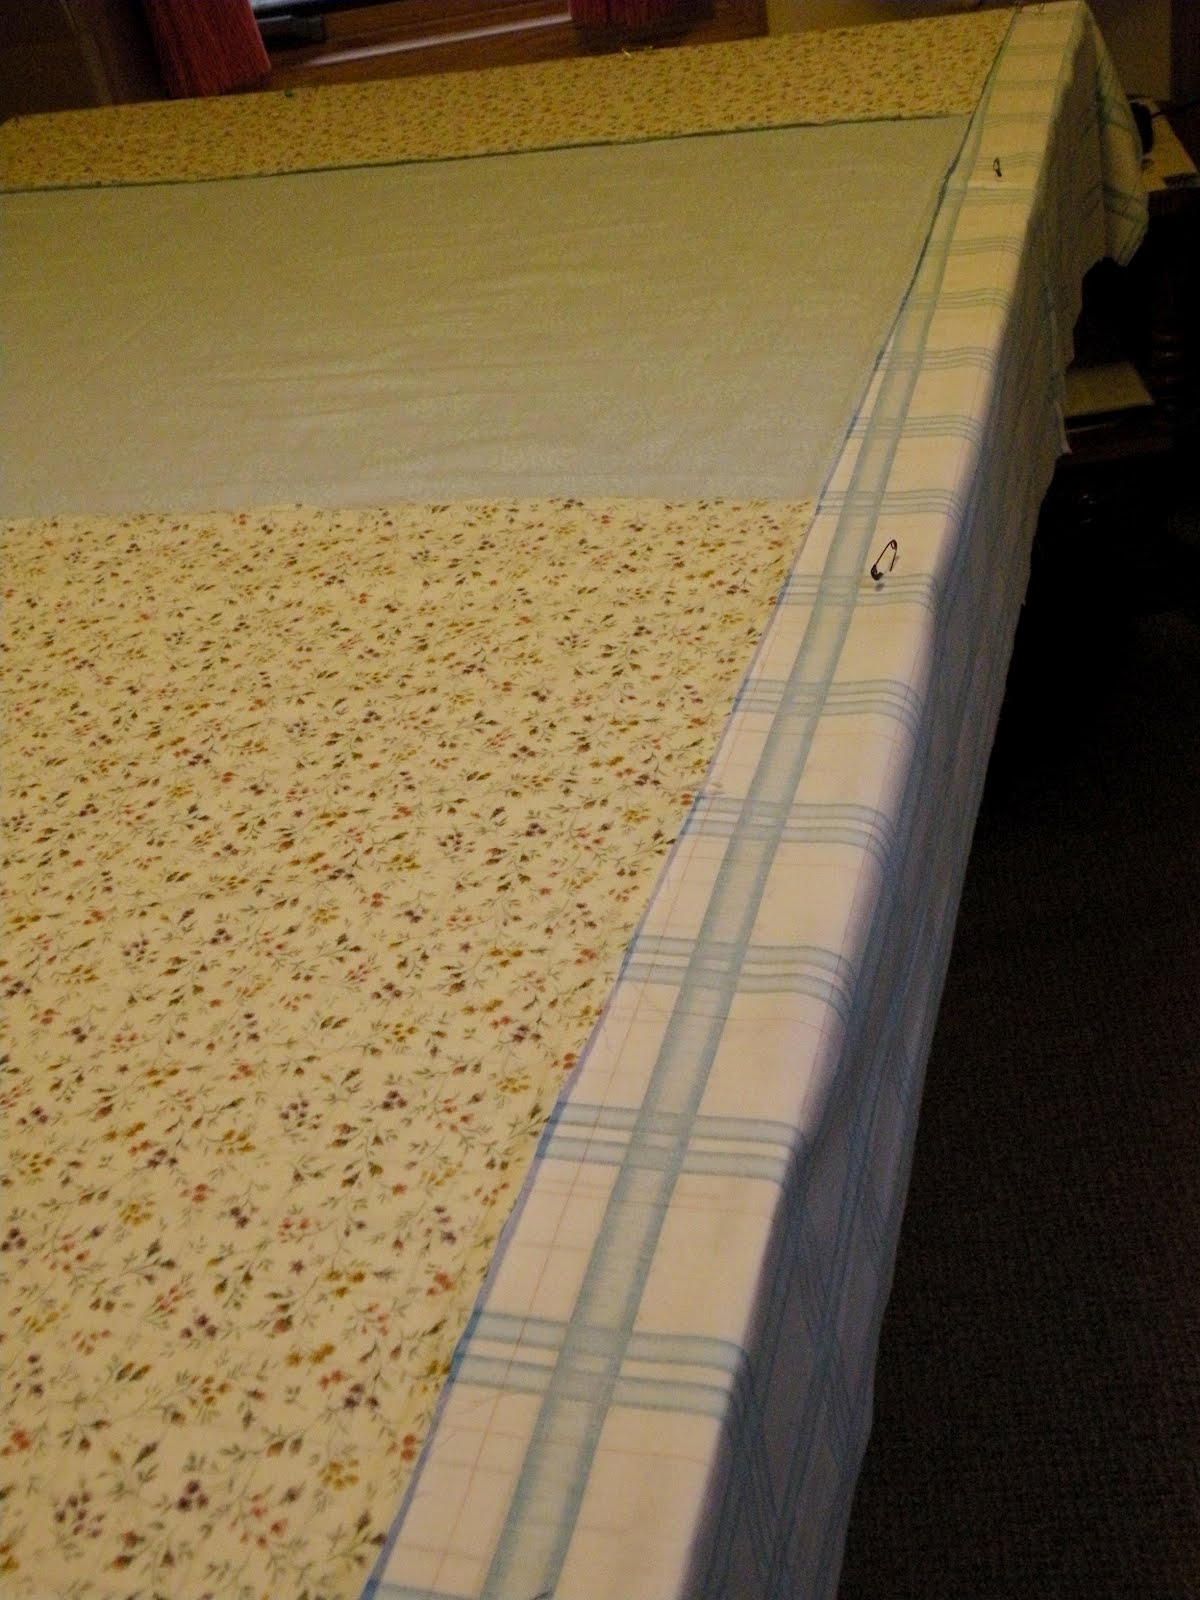
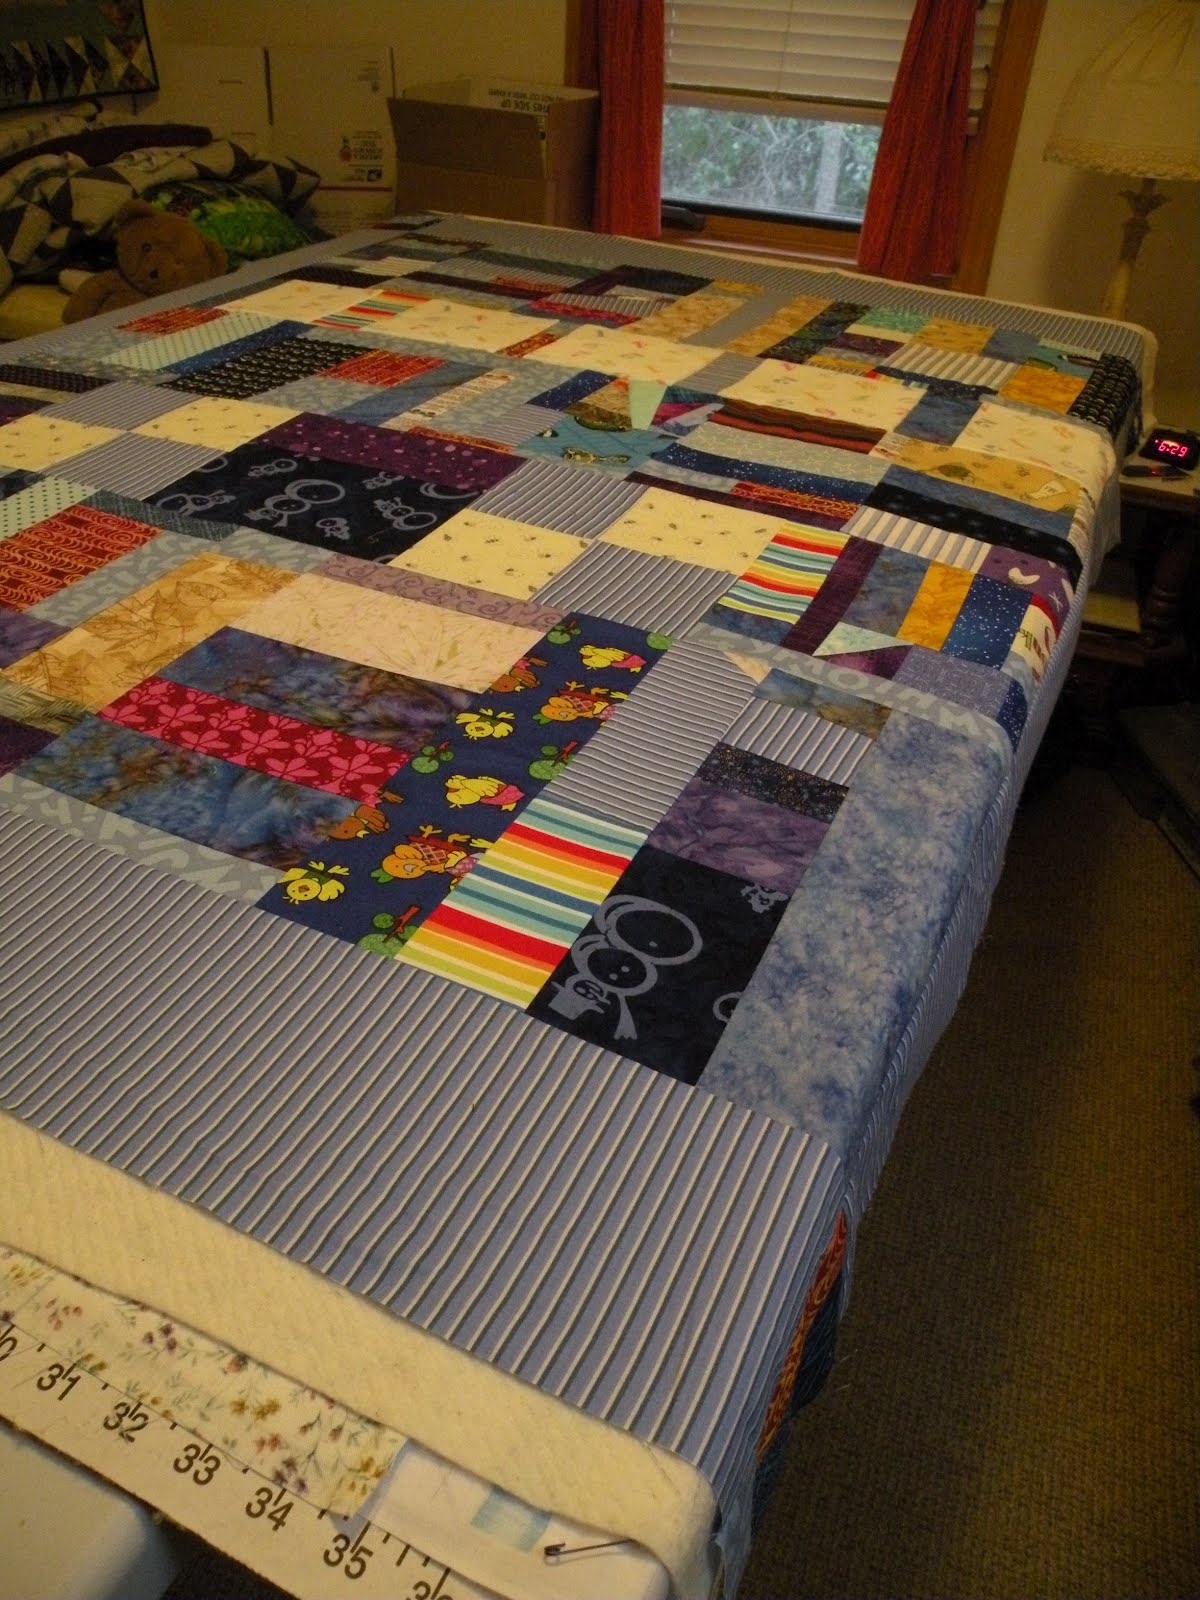
The second month of the Rainbow Scrap Challenge is Yellow. I made only one block so far. I don't have many yellow scraps and am even low on yellow in my stash. I might make one more, but that will come later in the month, if at all.
Edit on 2/15/19.. I did find more yellow and made two more blocks
You can see other yellow blocks made for the month here.
in which I write about quilts, dreams, everyday life, and almost nothing about giraffes
Showing posts with label scraps. Show all posts
Wednesday, February 06, 2019
Monday, January 14, 2019
Rainbow Scrap Challenge
I am finally actually doing the RSC (Rainbow Scrap Challenge) which I have loosely followed for years but never joined in until now. These are my January blocks. January's color was RED. I didn't know there was a Saturday link-up, so I'm late. I'll get the hang of it pretty soon. Check out the other RED blocks and projects here: RSC Scrap Happy Saturday.
Tuesday, January 01, 2019
Rainbow Scrap Challenge
This year I am going to participate in the Rainbow Scrap Challenge. I have been meaning to do this for years.. just never got my act together. Plus, I thought it was more complicated than it is. Just make blocks of your own choosing, using the color she announces for each month. The idea is to "use up" your scraps. We all know how impossible that is, but it's a good goal anyway.
I put a button in my sidebar. When you get to her blog, click on the RSC19 tab for the explanation.
January's color is RED! Let's get busy using up our scraps (or at least attempting to make a dent in them).
Here's a picture of her Sampler made in 2018 from her monthly scrap blocks.
One year she did a rainbow Dear Jane! I'm not going to get this complicated. I don't know my plan yet, but it will be simple.
I put a button in my sidebar. When you get to her blog, click on the RSC19 tab for the explanation.
January's color is RED! Let's get busy using up our scraps (or at least attempting to make a dent in them).
Here's a picture of her Sampler made in 2018 from her monthly scrap blocks.
One year she did a rainbow Dear Jane! I'm not going to get this complicated. I don't know my plan yet, but it will be simple.
Saturday, October 28, 2017
Small Pieces
I bought a book of scrap quilt patterns (I love scrappy). I can't find the book, but I have been working on a block pattern which I got from the book before misplacing it. The scrap pieces are 2" x 3.5". Today I made 7 of these blocks. In the picture I included the random scrappy block that I made a while back. Since then I have been making them of one color at a time. It wouldn't be necessary, and I don't know if I will always do it that way. The pattern in the book was a big quilt, made of zillions of these blocks, all randomly colored. I have 16 blocks made so far. This is a long-term project.
Remember several months ago I talked about having found a pattern called Controlled Chaos? That pattern consists of twenty blocks, all made of 2-inch squares. Today I made the green and blue block. These are fun, and I hope I get back to this project more quickly next time, otherwise this quilt will take me several years to finish.
Saturday, December 27, 2014
Emerging From Under the Scraps Pile
I'm still going through boxes and bags of scraps that were donated. I didn't realize these would never end. I keep thinking I've made progress, and then I find more to sort through. However, I think I'm finally making progress.
I have finished making NINE pet beds using scraps! (Scraps go inside, as stuffing.) That is a LOT of scraps. The person who donated these scraps said she still has lots more at home to bring to me. Eeek! (It's kind of a blessing and a curse all in one.)
This is the nine pet beds, and I was very happy that I moved them around to re-order them and photograph them, because behind them I found hiding my smaller, newer camera!!! I was sooo happy! I knew it was in the house somewhere, but had no idea where. Voila! It has been found.
This is what is currently on my design wall #1:
The brownish strips will eventually be a quilt top (the strips will be horizontal); it is also made from donated scraps. And the hearts are also donated; this will be a doll blanket.
This is currently on my design wall #2:
blocks made by members of my guild. I am working on getting this sewn together and hopefully will get it quilted in the next couple of days. I'm looking forward to working with our next block, for 2015, which is a 9.5" nine-patch. I'm tired of this slanty one. It's a cool block, but I'm ready for a change.
We had a quiet Christmas, which you know from my previous posts, but I do have a few photos to share with you in a future post. Watch for it! (Can you stand the excitement??)
I have finished making NINE pet beds using scraps! (Scraps go inside, as stuffing.) That is a LOT of scraps. The person who donated these scraps said she still has lots more at home to bring to me. Eeek! (It's kind of a blessing and a curse all in one.)
This is the nine pet beds, and I was very happy that I moved them around to re-order them and photograph them, because behind them I found hiding my smaller, newer camera!!! I was sooo happy! I knew it was in the house somewhere, but had no idea where. Voila! It has been found.
This is what is currently on my design wall #1:
The brownish strips will eventually be a quilt top (the strips will be horizontal); it is also made from donated scraps. And the hearts are also donated; this will be a doll blanket.
This is currently on my design wall #2:
blocks made by members of my guild. I am working on getting this sewn together and hopefully will get it quilted in the next couple of days. I'm looking forward to working with our next block, for 2015, which is a 9.5" nine-patch. I'm tired of this slanty one. It's a cool block, but I'm ready for a change.
We had a quiet Christmas, which you know from my previous posts, but I do have a few photos to share with you in a future post. Watch for it! (Can you stand the excitement??)
Monday, December 22, 2014
Getting Stuff Done
I'm still having fun! Still feeling low-to-zero stress! My uncle's memorial service was on Saturday. It was a lovely service; people told heart-warming stories about my dear uncle. Daughter and I made a sort of hasty departure so we could go celebrate Christmas with the other side of the family. That was fun, too, if somewhat chaotic. 24 humans in one space with lots of food and gifts tends toward chaos, I've discovered.
I gave the quilt to my BIL and SIL.. I had made it over time and finished it this summer, photographing it in a few zillion places around here: a park, under a tree, on my front lawn, etc. It is finally now in its true home.
I was given a boat-load of scraps recently, and got busy making blocks. Most recently I made about 30 crumb blocks, and today I got them made into a top. I'm hoping for the quilting bug to bite me soon.
Tomorrow is what I call "Christmas Adam," the day before Christmas Eve. May you be warm and dry and happy on Christmas Adam.
I gave the quilt to my BIL and SIL.. I had made it over time and finished it this summer, photographing it in a few zillion places around here: a park, under a tree, on my front lawn, etc. It is finally now in its true home.
I was given a boat-load of scraps recently, and got busy making blocks. Most recently I made about 30 crumb blocks, and today I got them made into a top. I'm hoping for the quilting bug to bite me soon.
Tomorrow is what I call "Christmas Adam," the day before Christmas Eve. May you be warm and dry and happy on Christmas Adam.
Saturday, December 13, 2014
Attention Scrap Lovers!
Recently I received a whole bunch of fabrics and scraps that were donated to our guild. I'm now in charge of figuring out what to do with it all. I have been sorting through tons of scraps!
If you're a scrap lover, wouldn't you love to have a few more? I know you're needing some new scraps so you don't have duplicates in your postage stamp quilt, or you're making a big Legos (skinny strips) quilt, or you want more scraps for some "made fabric?!"
The big pieces will be put into our store which we run every year during our show. Therefore I am offering the scraps for sale as well. If you want any of my scraps, please let me know. For a mere $5 you can have a nice pile like this:
Scraps vary from about 3.5-inch wide to 1.5-inch wide. Some are pieces, some are strips. Some are probably vintage, most are cotton, but there are some cotton-poly blends here and there.
$5 will cover the purchase of the scraps (to benefit my local guild) and postage. Just let me know. You could pay me through Pay Pal, or write a check. If you're interested, I can tell you how to proceed.
By purchasing these scraps you'll be helping my guild AND helping clear out my living room!
If you're a scrap lover, wouldn't you love to have a few more? I know you're needing some new scraps so you don't have duplicates in your postage stamp quilt, or you're making a big Legos (skinny strips) quilt, or you want more scraps for some "made fabric?!"
The big pieces will be put into our store which we run every year during our show. Therefore I am offering the scraps for sale as well. If you want any of my scraps, please let me know. For a mere $5 you can have a nice pile like this:
Scraps vary from about 3.5-inch wide to 1.5-inch wide. Some are pieces, some are strips. Some are probably vintage, most are cotton, but there are some cotton-poly blends here and there.
$5 will cover the purchase of the scraps (to benefit my local guild) and postage. Just let me know. You could pay me through Pay Pal, or write a check. If you're interested, I can tell you how to proceed.
By purchasing these scraps you'll be helping my guild AND helping clear out my living room!
Saturday, May 24, 2014
Learning to Machine Quilt, as Always
Here is what I have done so far this weekend: I made a doll blanket out of some very skinny strips. My sister saves all her scraps, no matter how skinny. Then she gives them to me. I put some of them into a pooch bag (it will be a bed for a dog or cat in a shelter), and some I decided to use in a small quilt. This will be donated to a child at Christmas time, along with a small doll.
Now I am going to focus on one quilt and will provide details of how it came together. First, I was given some free fabric that was purchased in Nigeria! (The buyer gave the fabric to Wrap-a-Smile for use in quilts for kids.) That is the fabric with the orange and green circles on it. I am afraid I did not succeed in my quest to use and show off this fabric at its best. Happily, it's not a failure, either. It was a learning experience, however.
The inner part, made from HSTs, came from the scrap bag from my sister. I got those put together and then decided I wanted to make curved pieces around it. That was a fun challenge (I used the "how-to's" from Debbie Bowles' book, Cutting Curves From Straight Pieces.) The mistake I made here was not enough contrast between the two sides of the curved piece. Shucks!
In my attempt to emphasize the curves so that they are actually visible, I zig-zagged on them with white thread and then did that again during the quilting process. It worked out OK, but starting out with better contrast would have been better.
Next I made the nine-patches. They looked so nice set around the corners, but then I put more circle fabric in the middles, and the whole design got lost.
See? Before...
After...
I decided it wasn't that serious. Sad, but not enough to undo and re-do the borders. No, thanks.
Today I quilted the top. I'm proud of myself, because I'm trying to force myself to quilt some of my own tops instead of sending them on to others to do my work for me. In recent weeks I have quilted three Wrap-a-Smile tops so far, plus a couple guild projects. It's a bit of a chore for me, but once I get it done, I'm usually happy I did it. So.. maybe I'll get comfortable with machine quilting one of these years. Sure would be nice!
Right now my machine is on the old side, and has a few problems: it has a short, and it sometimes hiccups during sewing, which can be a challenge when trying to free-motion smoothly. Also my darning foot is held on by a screw, which I lost, so it just sits there loosely and can fall off if I don't watch it carefully. And my machine tends to skip while free motion quilting, so I have to watch that, too. All that plus the regular challenge of trying to machine quilt beautifully... it's a lot to ask!
So I quilted this today and mostly did stitch-in-the-ditch. I also, as I said, zig-zagged along the curves, attempting to emphasize the curves. Then I did a small amount of free-motion on some of the circles:
and then decided to do some circles in the center, to pull it all together. Can you see them?
Then I decided I was done! And thrilled to have completed another quilting job by myself! This goes into the box to be sent to Wrap-a-Smile. I think there is room for one more quilt. And I still have some of that fabric from Nigeria and will make another quilt with it!
Now I have run out of batting and run out of basting spray, so a trip to Hancocks is in order. What do you use for basting quilts? Pins? Basting spray? Some day I'll show you pictures of my new (to me) technique.
Now I am going to focus on one quilt and will provide details of how it came together. First, I was given some free fabric that was purchased in Nigeria! (The buyer gave the fabric to Wrap-a-Smile for use in quilts for kids.) That is the fabric with the orange and green circles on it. I am afraid I did not succeed in my quest to use and show off this fabric at its best. Happily, it's not a failure, either. It was a learning experience, however.
The inner part, made from HSTs, came from the scrap bag from my sister. I got those put together and then decided I wanted to make curved pieces around it. That was a fun challenge (I used the "how-to's" from Debbie Bowles' book, Cutting Curves From Straight Pieces.) The mistake I made here was not enough contrast between the two sides of the curved piece. Shucks!
In my attempt to emphasize the curves so that they are actually visible, I zig-zagged on them with white thread and then did that again during the quilting process. It worked out OK, but starting out with better contrast would have been better.
Next I made the nine-patches. They looked so nice set around the corners, but then I put more circle fabric in the middles, and the whole design got lost.
See? Before...
After...
I decided it wasn't that serious. Sad, but not enough to undo and re-do the borders. No, thanks.
Today I quilted the top. I'm proud of myself, because I'm trying to force myself to quilt some of my own tops instead of sending them on to others to do my work for me. In recent weeks I have quilted three Wrap-a-Smile tops so far, plus a couple guild projects. It's a bit of a chore for me, but once I get it done, I'm usually happy I did it. So.. maybe I'll get comfortable with machine quilting one of these years. Sure would be nice!
Right now my machine is on the old side, and has a few problems: it has a short, and it sometimes hiccups during sewing, which can be a challenge when trying to free-motion smoothly. Also my darning foot is held on by a screw, which I lost, so it just sits there loosely and can fall off if I don't watch it carefully. And my machine tends to skip while free motion quilting, so I have to watch that, too. All that plus the regular challenge of trying to machine quilt beautifully... it's a lot to ask!
So I quilted this today and mostly did stitch-in-the-ditch. I also, as I said, zig-zagged along the curves, attempting to emphasize the curves. Then I did a small amount of free-motion on some of the circles:
and then decided to do some circles in the center, to pull it all together. Can you see them?
Then I decided I was done! And thrilled to have completed another quilting job by myself! This goes into the box to be sent to Wrap-a-Smile. I think there is room for one more quilt. And I still have some of that fabric from Nigeria and will make another quilt with it!
Now I have run out of batting and run out of basting spray, so a trip to Hancocks is in order. What do you use for basting quilts? Pins? Basting spray? Some day I'll show you pictures of my new (to me) technique.
Labels:
doll quilts,
quilting,
quilts,
scraps,
Wrap a Smile
Wednesday, March 05, 2014
What I Can't Say
I was hoping to announce that "the eaglet has landed," meaning I'd heard from my son and that he is safely moved into his new home in Korea. Sadly, I have not yet heard from him. I know he's probably busy moving into an apartment, meeting his new colleagues, touring the school where he'll work, and starting training. Plus, his cell phone is in limbo, being switched over to a Korean carrier, so he's not easy to contact for a while.
But, I'm tapping my foot impatiently, waiting to hear. I'll be able to relax when I know he's there and safe.
Meanwhile, I'm keeping myself busy. I have been making stuff with zippers! It's so much fun! I learned a new way to install them, and it's not even "scary," like zippers used to be when I sewed garments. Here are some examples:
Some of these were made from treasures I found in my sister's donated scrap bags, such as the jeans pockets that were already cut to that size, and there are also several small upholstery scraps that make good little bags. I made one as a gift for my sister and sent it as a surprise in the mail (I guess I didn't get a picture of it).
The green one with slanty zipper is a perfect size for my circular knitting needles! So I'm keeping that, otherwise I'm making these for sale at our local quilt guild's show which is coming up in April.
I have a few other items I'm making for sale then, too.. but those pictures will be in another blog post, hopefully accompanied by the words "the eaglet has landed."
But, I'm tapping my foot impatiently, waiting to hear. I'll be able to relax when I know he's there and safe.
Meanwhile, I'm keeping myself busy. I have been making stuff with zippers! It's so much fun! I learned a new way to install them, and it's not even "scary," like zippers used to be when I sewed garments. Here are some examples:
Some of these were made from treasures I found in my sister's donated scrap bags, such as the jeans pockets that were already cut to that size, and there are also several small upholstery scraps that make good little bags. I made one as a gift for my sister and sent it as a surprise in the mail (I guess I didn't get a picture of it).
The green one with slanty zipper is a perfect size for my circular knitting needles! So I'm keeping that, otherwise I'm making these for sale at our local quilt guild's show which is coming up in April.
I have a few other items I'm making for sale then, too.. but those pictures will be in another blog post, hopefully accompanied by the words "the eaglet has landed."
Sunday, March 17, 2013
I'm Sensing a Pattern Here
I'll tell you a well-kept secret: I like to play with fabric scraps. Was that even a secret? Actually, not at all, and especially not after looking at the three quilts below. I like having these three quilts all lined up to show you my sewing "M.O." Proof that scraps and I get along. (Some people call this scrap-sewing method "dump and sew" - dump out the scraps, sew them together. That's pretty much how I love to kick back and have fun.)

This green one is headed to Margaret's Hope Chest. It was beautifully quilted by Diane.


This is the red one I already showed you. It was quilted on a long-arm at a local shop. It is still waiting patiently for its binding.

This blue one was made 100% by me - I even quilted it! I gave this one to my great-nephew. He's the one on the sofa, not exhibiting too much interest, which is totally what I expected. How could he know how we adults value quilts?! His mom and grandma were excited, though...
...and he did turn to his friend and say "don't you wish you had one of these?" so I guess he liked it, though I hope his friend didn't feel bad. I almost offered to make one for his friend and then wisely thought better of it.
I made progress on other sewing this weekend, too, and will show you photos in the next couple of days.
This green one is headed to Margaret's Hope Chest. It was beautifully quilted by Diane.
This is the red one I already showed you. It was quilted on a long-arm at a local shop. It is still waiting patiently for its binding.
This blue one was made 100% by me - I even quilted it! I gave this one to my great-nephew. He's the one on the sofa, not exhibiting too much interest, which is totally what I expected. How could he know how we adults value quilts?! His mom and grandma were excited, though...
...and he did turn to his friend and say "don't you wish you had one of these?" so I guess he liked it, though I hope his friend didn't feel bad. I almost offered to make one for his friend and then wisely thought better of it.
I made progress on other sewing this weekend, too, and will show you photos in the next couple of days.
Monday, September 03, 2012
Making a Quilt Sandwich
It's Labor Day weekend, and I have been laboring in the sewing room!
I concentrated on machine quilting this week, and you have already seen most of the results (blog posts of the last few days).
In between I worked on making scrap blocks. And then I came up with a setting for them, got that halfway done, and decided to re-design it. Now I have lots of ripping to do and then re-sewing. The new setting also required more blocks, so I made those late last night. (All of this you will see, eventually.)
I added borders to a top which will be quilted on a long-arm later this week.
I also became interested in my blue scraps and made a quilt top. Today I quilted and finished it. I decided to show you my method. I'm sure you already have your own ways of sandwiching and quilting, but I just thought I'd show you my method for fun. It's always interesting to see how other people do their quilting tasks, don't you think? So this is how I make a quilt sandwich that will be quilted on my domestic machine. (To those of you who wondered: no, a quilt sandwich is not edible.)
1) Set up table in spare bedroom. (Who am I kidding? It's probably already up, with junk on it. Toss junk onto bed.) The noise of setting up the table always scares the cat, so he's out of the way for a while.
2) Pull out the cardboard thingy with inches and feet and yards printed on it. Put it on table top.
3) Lay out fabric backing piece. Oh, first, of course you have to iron it. Then lay it out, nice and flat, right side down, on the cardboard thingy. Pin it into place around the outside perimeter to keep it taut-ish.
4) Lay out the batting on top of the quilt backing. Smooth it out nice and flat.
5) Fold back half the batting, back on top of itself so half the backing fabric is revealed. Shake the spray baste can. If the cat has come back into the room, this noise will scare him, so he once again flees to a safe hiding place and is out of your way. Spray the batting with spray baste. Use an old magazine or paper to prevent the over-spray from getting on other items in the room. Pull the batting-half back into place and smooth it out carefully. Then pull back the other half and repeat this process. (Oh, if it's not 58 degrees below zero, you should have a window open while you use the spray baste.)
this is a poor rendition of how I really do this.. I only have two arms, so it was impossible to take an action shot of myself spraying and holding the paper in the proper place.. use your imagination
6) Put quilt top (having ironed it beforehand) on the batting, right side up. Position it carefully so that you know it will have both batting and backing fabric under all parts of the top. Smooth it into place.
7) Repeat the process of spray-basting, this time basting the top onto the batting, half at a time.
8) Be sure to remove the pins from the backing fabric and cardboard at this point. They might be between the quilt layers, and you'll have to lift carefully to get them out, then re-smooth the pieces back so they're flat.
9) If your top is wider than the table, you may have to shift the cardboard thingy over at this point and spray baste the parts you couldn't reach before because they were hanging down. Contrary to what this picture suggests, I would actually pull back along the whole length of the side that I missed in order to do as neat a job as I can with this second-step-basting. (Do both batting-to-backing and top-to-batting.) An ideal set-up would have two tables side by side, but obviously my set-up is not ideal.
10) At this point I use a few of the pins to pin the sandwich together in 4-6 places, just in case my spray basting fails or I need extra stabilization for some reason.
11) Turn on fan in the spare room to disperse the spray baste smell before husband has a chance to complain about it.
12) Take sandwich to your machine and quilt as desired.
13) Trim, add binding, finish binding, hang it up, photograph it, fold it, admire it, and marvel that in a couple of days you turned scraps into this beautiful, cuddly piece of love.
14) Before giving away quilt, wash it so you remove the smell of the spray baste, and the quilt gets that lovely crinkly look of comfort.
15) Smile and go make another quilt.
I concentrated on machine quilting this week, and you have already seen most of the results (blog posts of the last few days).
In between I worked on making scrap blocks. And then I came up with a setting for them, got that halfway done, and decided to re-design it. Now I have lots of ripping to do and then re-sewing. The new setting also required more blocks, so I made those late last night. (All of this you will see, eventually.)
I added borders to a top which will be quilted on a long-arm later this week.
I also became interested in my blue scraps and made a quilt top. Today I quilted and finished it. I decided to show you my method. I'm sure you already have your own ways of sandwiching and quilting, but I just thought I'd show you my method for fun. It's always interesting to see how other people do their quilting tasks, don't you think? So this is how I make a quilt sandwich that will be quilted on my domestic machine. (To those of you who wondered: no, a quilt sandwich is not edible.)
1) Set up table in spare bedroom. (Who am I kidding? It's probably already up, with junk on it. Toss junk onto bed.) The noise of setting up the table always scares the cat, so he's out of the way for a while.
2) Pull out the cardboard thingy with inches and feet and yards printed on it. Put it on table top.
3) Lay out fabric backing piece. Oh, first, of course you have to iron it. Then lay it out, nice and flat, right side down, on the cardboard thingy. Pin it into place around the outside perimeter to keep it taut-ish.
4) Lay out the batting on top of the quilt backing. Smooth it out nice and flat.
5) Fold back half the batting, back on top of itself so half the backing fabric is revealed. Shake the spray baste can. If the cat has come back into the room, this noise will scare him, so he once again flees to a safe hiding place and is out of your way. Spray the batting with spray baste. Use an old magazine or paper to prevent the over-spray from getting on other items in the room. Pull the batting-half back into place and smooth it out carefully. Then pull back the other half and repeat this process. (Oh, if it's not 58 degrees below zero, you should have a window open while you use the spray baste.)
this is a poor rendition of how I really do this.. I only have two arms, so it was impossible to take an action shot of myself spraying and holding the paper in the proper place.. use your imagination
6) Put quilt top (having ironed it beforehand) on the batting, right side up. Position it carefully so that you know it will have both batting and backing fabric under all parts of the top. Smooth it into place.
7) Repeat the process of spray-basting, this time basting the top onto the batting, half at a time.
8) Be sure to remove the pins from the backing fabric and cardboard at this point. They might be between the quilt layers, and you'll have to lift carefully to get them out, then re-smooth the pieces back so they're flat.
9) If your top is wider than the table, you may have to shift the cardboard thingy over at this point and spray baste the parts you couldn't reach before because they were hanging down. Contrary to what this picture suggests, I would actually pull back along the whole length of the side that I missed in order to do as neat a job as I can with this second-step-basting. (Do both batting-to-backing and top-to-batting.) An ideal set-up would have two tables side by side, but obviously my set-up is not ideal.
10) At this point I use a few of the pins to pin the sandwich together in 4-6 places, just in case my spray basting fails or I need extra stabilization for some reason.
11) Turn on fan in the spare room to disperse the spray baste smell before husband has a chance to complain about it.
12) Take sandwich to your machine and quilt as desired.
13) Trim, add binding, finish binding, hang it up, photograph it, fold it, admire it, and marvel that in a couple of days you turned scraps into this beautiful, cuddly piece of love.
14) Before giving away quilt, wash it so you remove the smell of the spray baste, and the quilt gets that lovely crinkly look of comfort.
15) Smile and go make another quilt.
Subscribe to:
Posts (Atom)